Getting started
1. Sign up
Section titled “1. Sign up”Go to beta.kobi-ai.com and create an account with email or Google. Beta accounts include a generous free quota — no card required.
2. Create a project
Section titled “2. Create a project”A project is the unit of context in KOBI. Threads, canvases, knowledge, personas, and team membership all live inside a project.
From the dashboard:
- Click New project.
- Name it (this is what your team will see).
- Choose a template, or start blank.
- Invite teammates — they will land directly inside the project.
3. Open the canvas
Section titled “3. Open the canvas”Each project has at least one canvas board. The canvas is where every agent draws its work — nodes for ideas, quadrants for strategy, charts for analytics, anchors for maps, graph nodes for knowledge.
Tips:
- Right-click on empty space to add a node manually.
- Drag nodes to rearrange them; layout snaps gently.
- Cmd/Ctrl-Z undoes the last canvas change.
- Cursor presence shows everyone currently on this board.
4. Talk to an agent
Section titled “4. Talk to an agent”Open the chat panel from the right side. Choose an agent from the picker — or let KOBI auto-route based on what you ask.
Examples:
- “Help me brainstorm directions for a coffee subscription product.” → Idea agent.
- “Build a SWOT for the Bangkok market.” → Strategy agent.
- “What’s our YoY growth from the dataset I uploaded?” → Analytics agent.
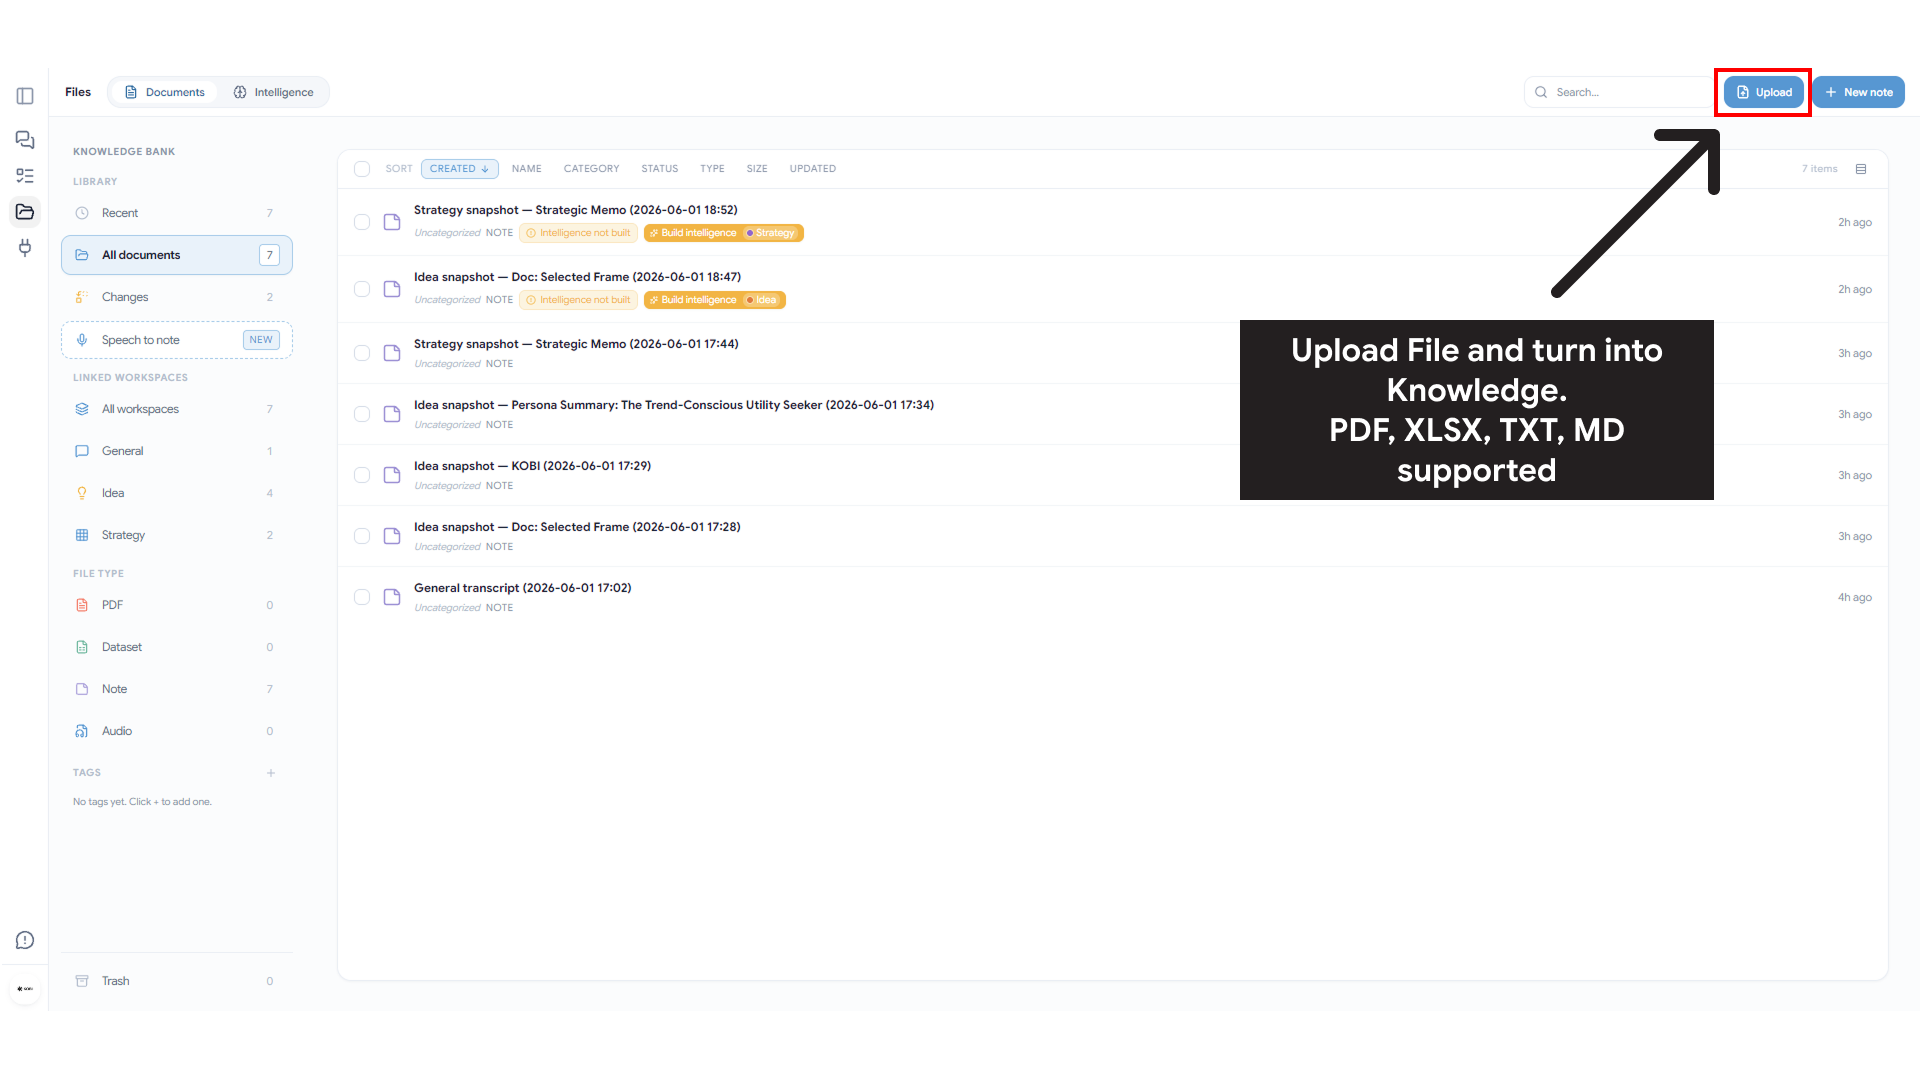
5. Bring in your knowledge
Section titled “5. Bring in your knowledge”Drop documents into Files or Knowledge. KOBI extracts text from PDFs, organizes it, and makes it searchable so every agent can use it. See Knowledge base for details.
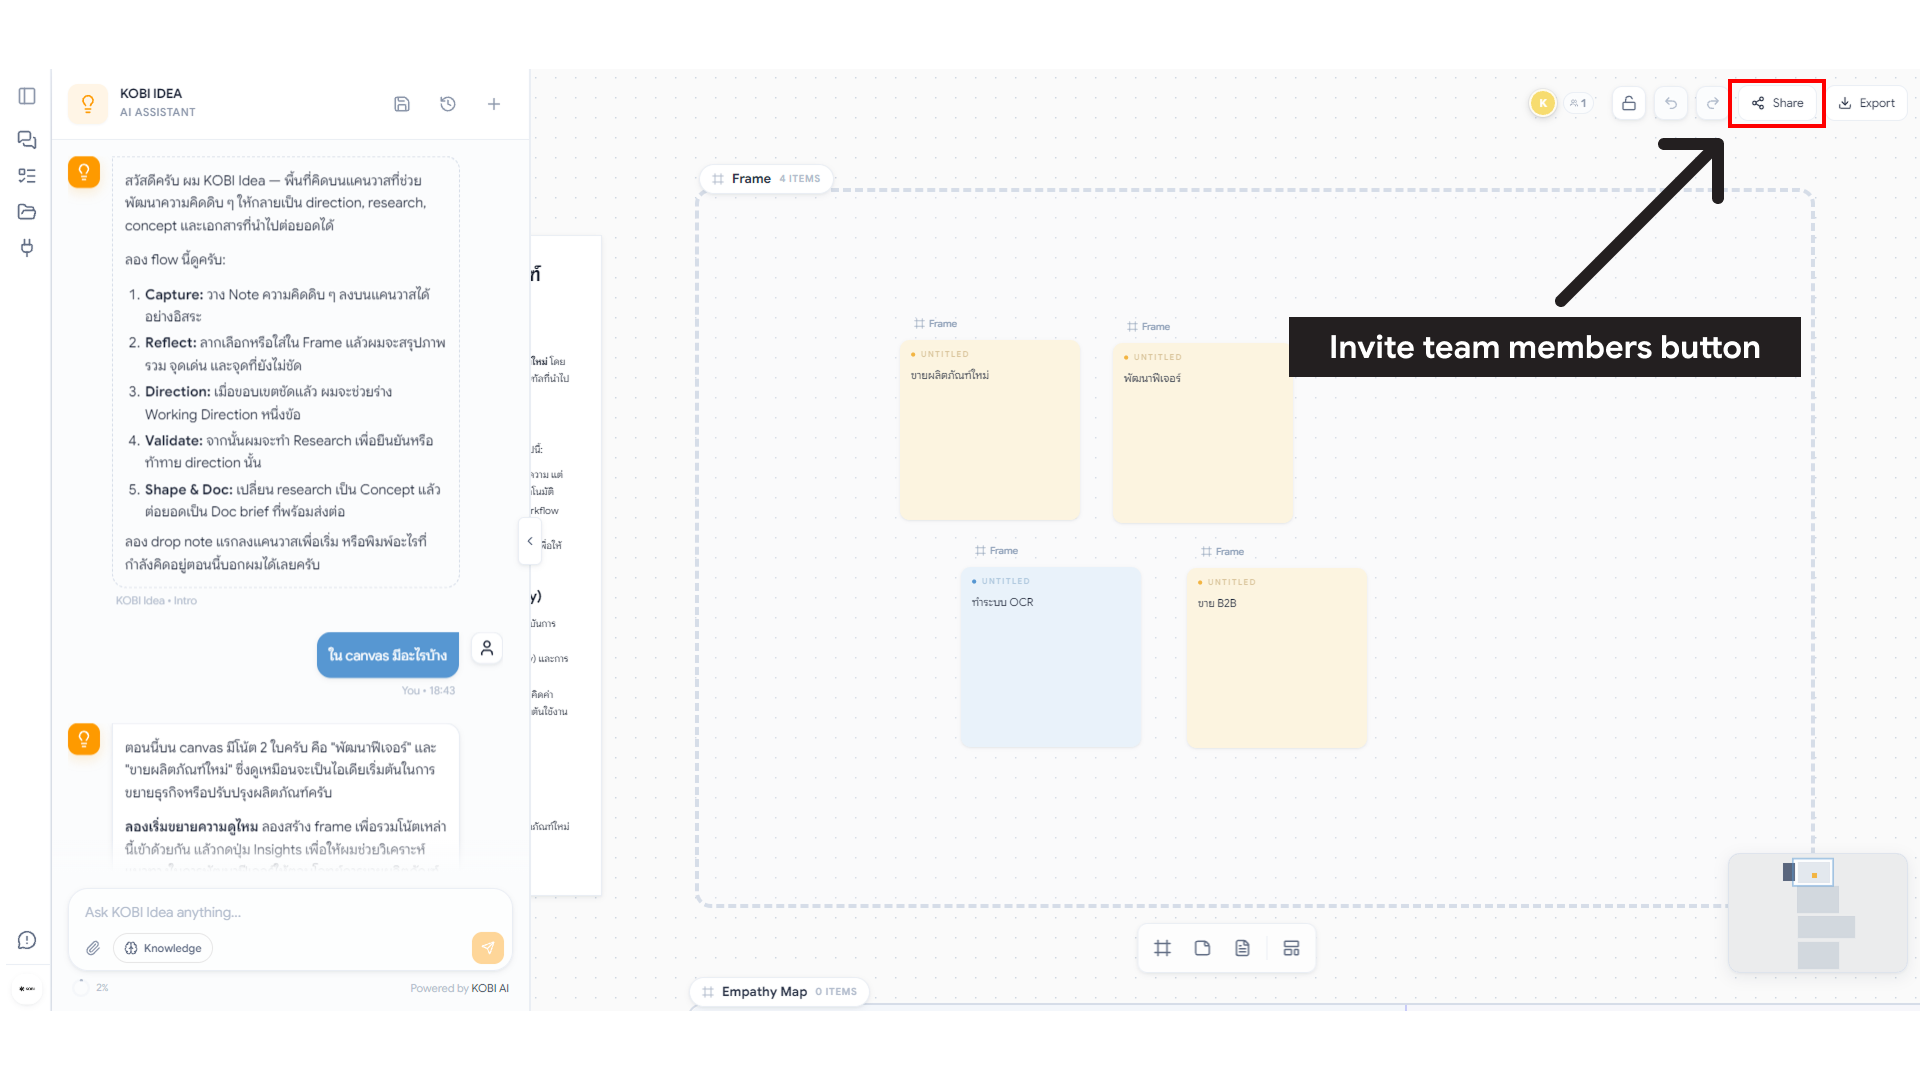
6. Invite your team
Section titled “6. Invite your team”From project settings, add teammates by email. Roles control who can edit canvases, manage knowledge, and change billing. Realtime presence and board permissions kick in immediately.